Introduction:
When it comes to installing and wiring 12V LED push button switches, many individuals seek guidance on the process to ensure a successful and efficient installation. In this comprehensive guide, we will delve into the intricacies of wiring these switches, providing you with a clear understanding of the necessary steps and precautions involved. Whether you are a professional installer or an enthusiast, this article aims to equip you with the knowledge required to tackle this task with confidence and precision.
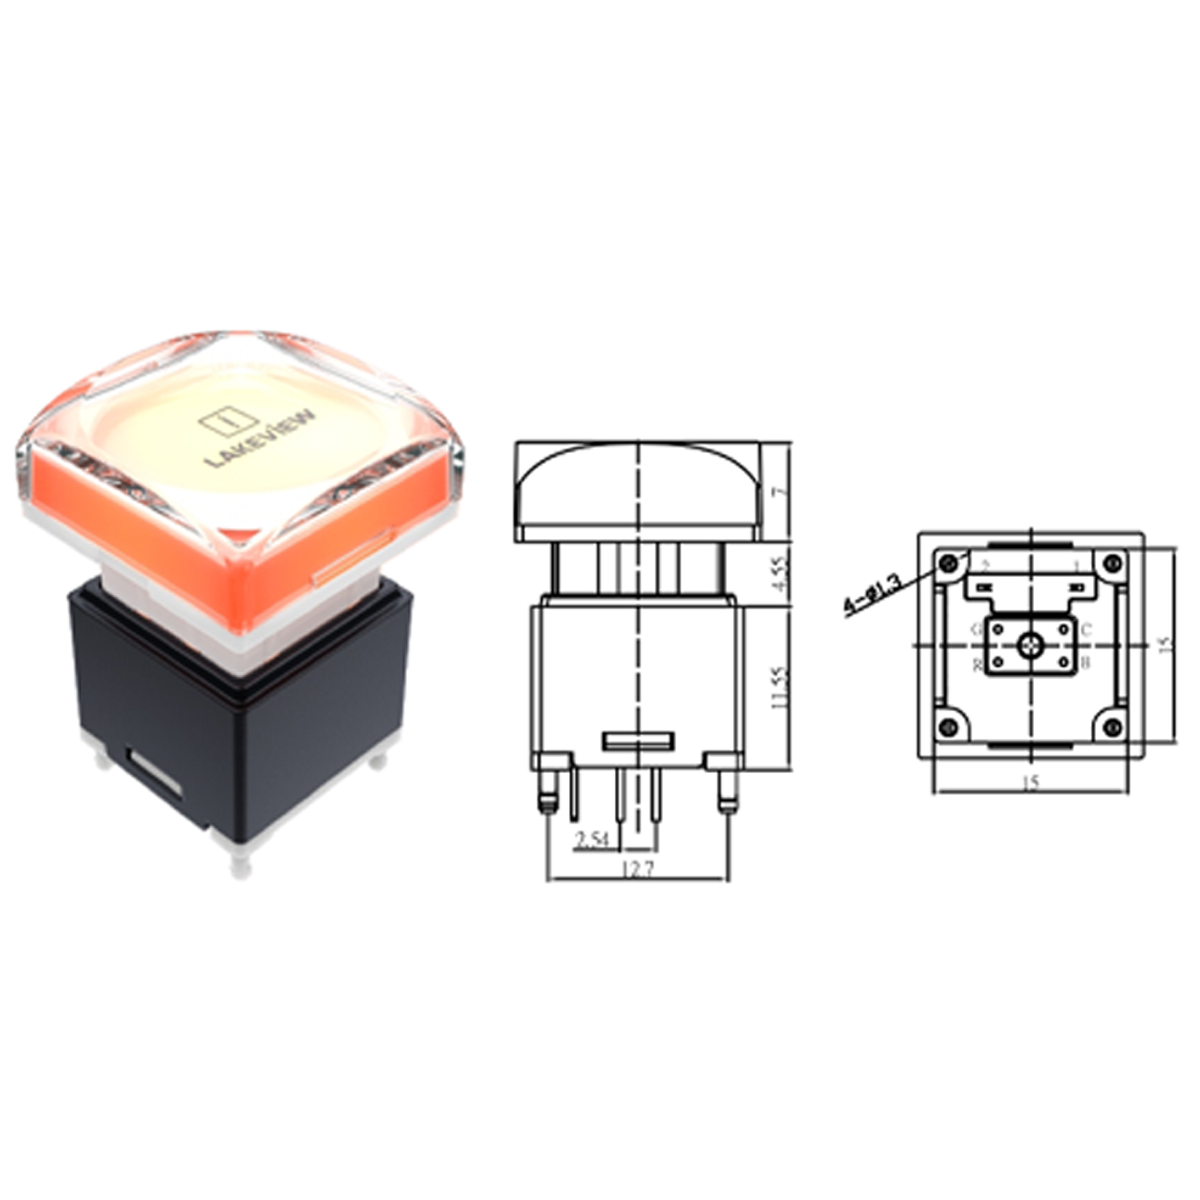
Understanding the Components:
Before diving into the wiring process, let’s familiarize ourselves with the components of a typical 12V LED push button switch. These switches consist of several key elements, including the push button itself, LED indicator, terminals, and the switch body. It is crucial to identify these components accurately to ensure a correct and secure wiring connection.
Wiring Diagram:
To simplify the wiring process, a clear and concise wiring diagram is essential. Below is an example wiring diagram for a 12V LED push button switch:

Please note that the specific wiring diagram may vary depending on the manufacturer and model of the switch. Always refer to the manufacturer’s documentation and instructions for the most accurate and up-to-date wiring diagram for your specific switch.
Wiring Instructions:
Now, let’s break down the wiring process step by step:
Step 1: Power Source Connection:
Identify the positive (+) and negative (-) terminals of your power source, typically a 12V DC power supply. Connect the positive terminal to the positive terminal on the switch.
Step 2: LED Indicator Wiring:
Locate the terminals designated for the LED indicator on the switch. Connect the positive terminal of the LED indicator to the positive terminal of the power source. Connect the negative terminal of the LED indicator to the negative terminal on the switch.
Step 3: Load Connection:
Identify the terminals assigned for the load connection on the switch. Connect the positive terminal of the load (e.g., a device or equipment to be controlled) to the positive terminal on the switch. Connect the negative terminal of the load to the negative terminal of the power source.
Step 4: Secure Connections:
Double-check all connections to ensure they are properly secured and free from any loose wires or exposed conductors. Inspect for any signs of damage or wear that may affect the performance or safety of the wiring setup.
Step 5: Testing:
Before finalizing the installation, conduct a thorough testing process to ensure the switch functions as intended. Test the switch’s push button operation, LED indicator illumination, and the control of the connected load.
Conclusion:
Wiring a 12V LED push button switch requires attention to detail and a systematic approach. By understanding the components, referring to accurate wiring diagrams, and following the provided instructions, you can successfully wire these switches safely and efficiently. Always prioritize safety precautions and consult the manufacturer’s guidelines to ensure compliance with specific switch models. With this knowledge in hand, you are now equipped to confidently install and wire 12V LED push button switches for your various applications.
Note: The provided wiring instructions are for general guidance only. It is crucial to consult the manufacturer’s documentation and guidelines specific to your switch model for accurate and safe installation.